Tired of crushing tomatoes instead of slicing? Your knife needs a touch-up. Don’t worry; we’ve you covered. Learn proper technique for using knife sharpener rod. Discover tips and tricks to keep your blades razor-sharp. Your culinary game is about to change!

1. Introduction
Hey there, fellow kitchen enthusiasts! Let’s talk about something that’s often overlooked but super important – keeping your knives sharp. You know that frustrating feeling when you’re trying to slice a tomato, and it just turns into a mushy mess? Well, that’s where a sharp knife comes in handy!
Knife Sharpener Rod aren’t just about making your cooking easier; they’re actually safer too. Yep, you heard that right! A dull knife is more likely to slip and cause accidents. Plus, sharp knives make your food prep quicker and more enjoyable.
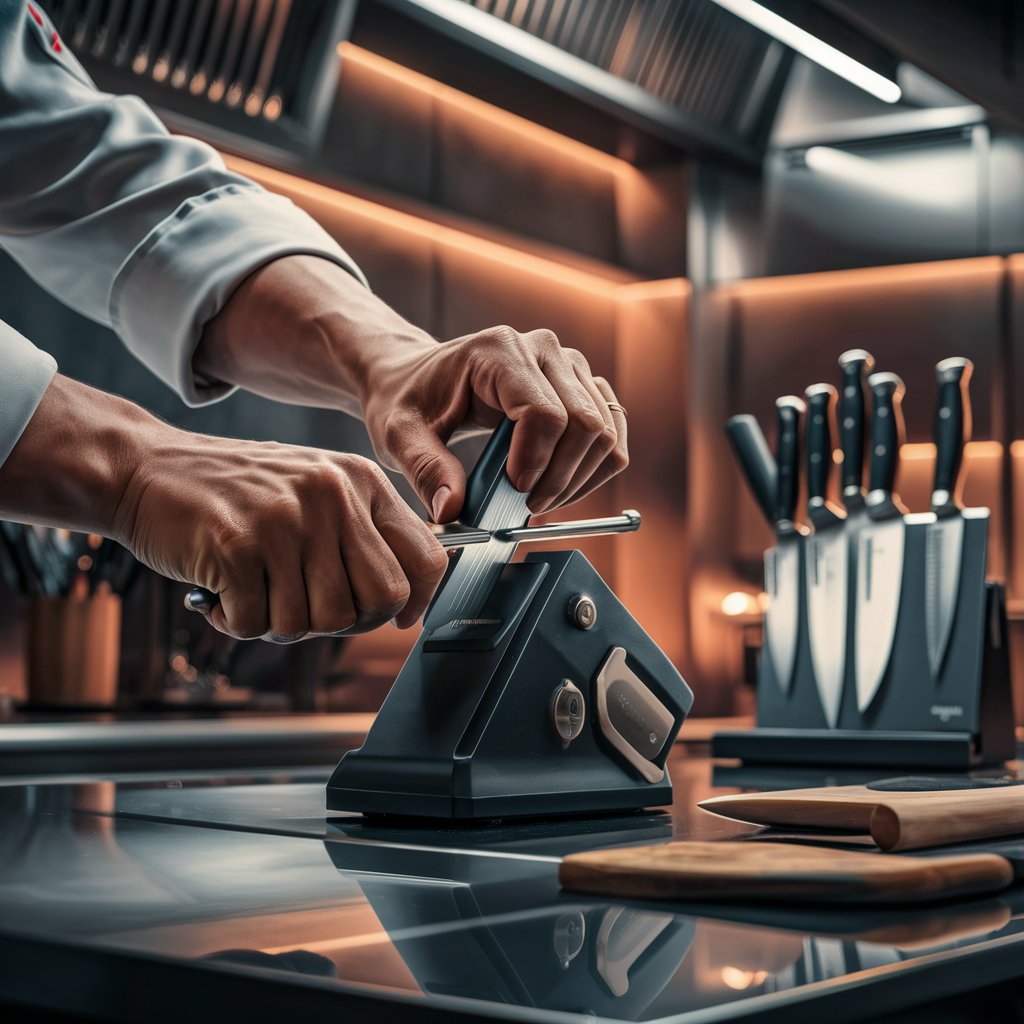
Now, when it comes to sharpening, there are a few options out there. You’ve got electric sharpeners, whetstones, and our star of the day – the knife sharpener rod. Also known as a honing steel, this nifty tool is perfect for maintaining your knife’s edge between more intensive sharpenings.
2. Understanding the knife Sharpener Rod
Composition of a Sharpening Rod
A sharpening rod might look simple, but there’s more to it than meets the eye. It’s typically a long, slender rod with a handle. The rod itself is usually made of steel, ceramic, or diamond-coated steel. Each type has its own benefits, but they all serve the same purpose – to keep your knife’s edge aligned and sharp.
Types of Sharpening Rods
- Steel Rods: These are the most common. They’re great for everyday use and work by realigning the edge of your knife.
- Ceramic Rods: A bit more abrasive than steel, these can actually remove a small amount of metal to sharpen the blade.
- Diamond-coated Rods: The most abrasive of the bunch, these are best for very dull knives or harder steel blades.
I remember when I first got my steel rod, I thought it was just for show! But once I learned how to use it properly, it became my go-to for keeping my knives in top shape.
3. Preparing to Sharpen
Cleaning the Rod and Knife
Before we get started, let’s make sure everything’s clean. Give your rod a quick wipe with a damp cloth, and make sure your knife is clean and dry too. Trust me, trying to sharpen a dirty knife is like trying to paint a dirty wall – it just doesn’t work as well!
Choosing the Right Angle
This is where a lot of people get nervous, but don’t worry! Most kitchen knives need to be sharpened at a 20-degree angle. An easy way to visualize this is to imagine your knife is a piece of pizza – the angle should be about half of a quarter slice. It might take a bit of practice, but you’ll get the hang of it!
4. Step-by-Step Sharpening Process
Holding the Rod Correctly
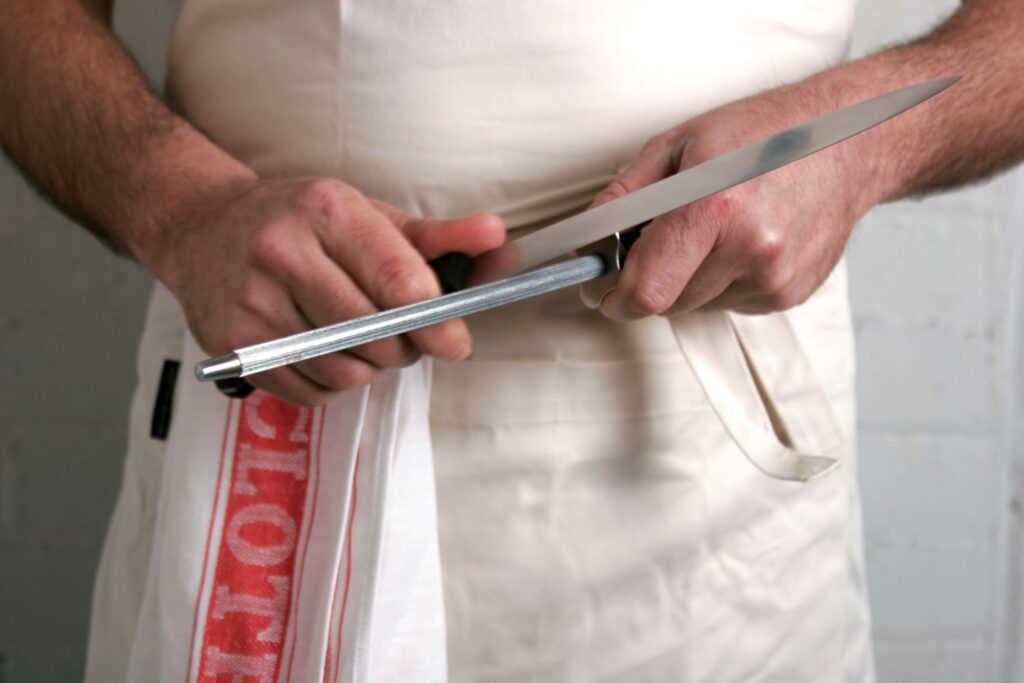
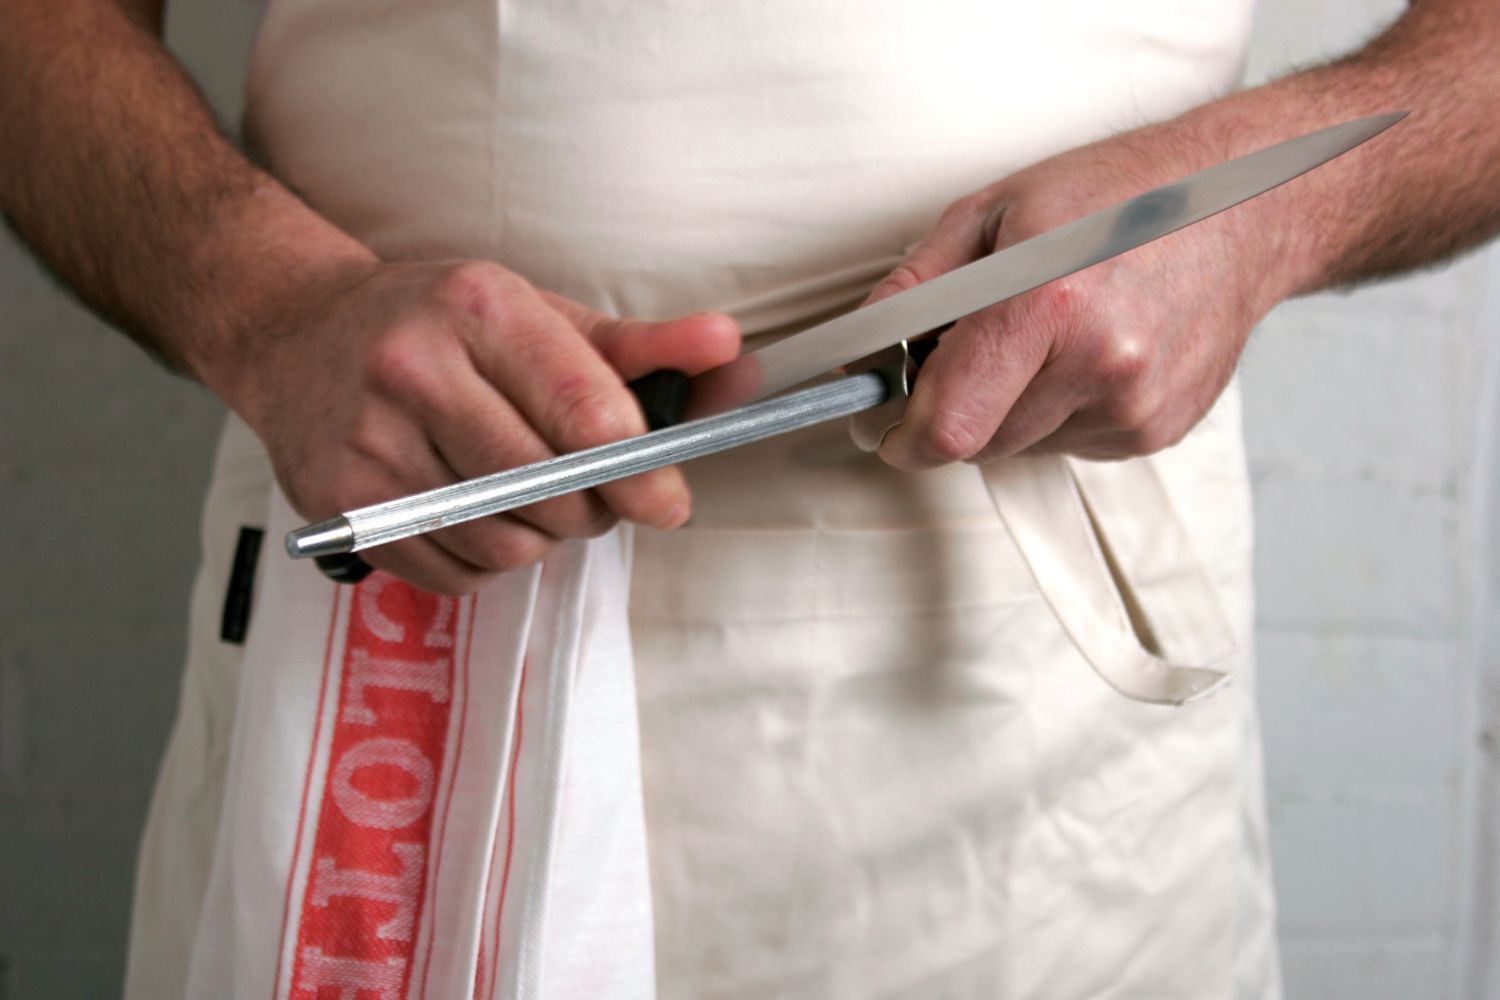
Alright, let’s get down to business! Hold the rod vertically with the tip resting on a cutting board or towel. Your dominant hand should be holding the handle of the rod. Keep it steady – pretend you’re a statue holding a lightning rod!
Positioning the Knife
With your other hand, hold the knife at that 20-degree angle we talked about earlier. The heel of the knife (the part closest to the handle) should touch the top of the rod.

Using Consistent Strokes
Now for the fun part! Slide the knife down the rod, moving from heel to tip. As you do this, pull the knife towards you so that you sharpen the entire edge. Do this about 5-10 times on each side of the blade, alternating sides with each stroke.
I like to count my strokes out loud – it helps me keep track and feels a bit like I’m doing a kitchen workout!
5. Safety Tips
Securing Your Grip
Always, always, always keep a firm grip on both the rod and the knife. Imagine they’re trying to escape – don’t let them! A secure grip is key to preventing accidents.
Maintaining Focus
I know it’s tempting to chat with your family or watch TV while sharpening, but try to stay focused. Think of it as a mini-meditation session with your knife. Trust me, your fingers will thank you!
6. Testing the Sharpness
Paper Test
Want to know if your knife is sharp enough? Try the paper test! Hold a sheet of paper vertically and try to slice through it with your freshly sharpened knife. If it glides through smoothly, you’ve done a great job!
Tomato Test
If you want to get fancy (and have a tomato handy), try slicing it. A sharp knife should easily pierce the skin and slice through without squashing the tomato. It’s satisfying and delicious!

7. Maintenance and Care
Cleaning the Rod
After you’re done, give your rod another wipe down. If you’ve been using it a lot, you might see some metal residue – that’s normal! Just clean it off with a damp cloth or some mild soap if needed.
Storing the Rod Properly
Store your rod somewhere dry and safe. I keep mine in the same drawer as my knives, but a knife block works great too if you have one with a slot for a rod.
8. Conclusion
And there you have it, folks! You’re now equipped with all the knowledge you need to keep your knives in tip-top shape. Remember, a sharp knife is a happy knife, and a happy knife makes for happy cooking!
“The only thing sharper than a well-maintained knife is the wit of the cook who keeps it that way!”
Keep practicing, and soon you’ll be sharpening your knives like a pro. Happy cooking, and may all your slices be smooth and your dices be precise!
Read More: https://thoughtsvista.com/


